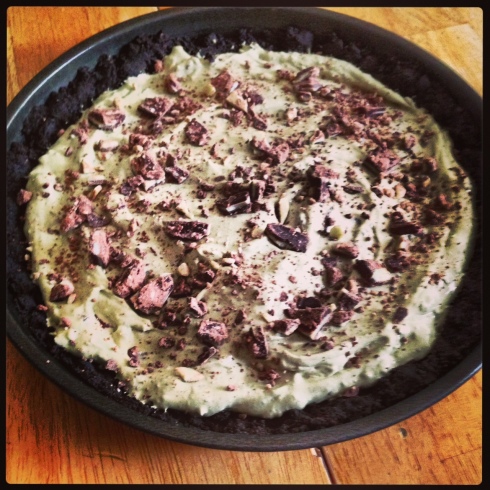
GF No-bake Andes Grasshopper pie with GF chocolate crust
This alcohol-free, gluten-free, no-bake grasshopper pie is incredibly tasty and pretty simple to make. My gluten-free peanut butter pie was one of my favorites, but this may have topped it, and I am a die-hard peanut butter fan, so that is saying a lot!
Prep Time: 2+ hours
Serves: 8-10
No-Bake Gluten-Free Chocolate O’s Pie Crust (similar to Oreo pie crust ingredients:
20 Chocolate O’s (you will need to purchase 2 boxes to enough cookies)
1/4 cup of melted unsalted butter
Instructions:
Step 1: In a large bowl, add the cookies and crush until they become very, very small crumbs. (A food processor works best, but is not absolutely necessary, I used a wooden spatula).
Step 2: Take ¼ cup of unsalted butter and melt in microwave for 10-15 seconds until completely melted.
Step 3: Add the melted butter to the cookie crumbs and stir until it is well-mixed.
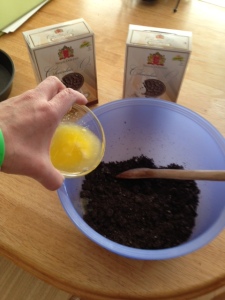
GF cookie crumb crust is only 2 ingredients–crushed cookies and melted butter!
Step 3: In a 9-in un-greased pie pan, press your cookie crumbs into pan and up the sides of the pan to form your pie crush, smoothing out cookie bumps as much as possible.
Step 3: Refrigerate the crust (at least an hour before you add the filling)
Andes Grasshopper Pie Filling:
1 box of Andes Mints (24-in box)
3 cups of marshmallows
¼ cup milk
¼ cup whipping cream
1 ¼ tsp of mint extract
1 ¼ tsp of cocoa powder
½ container of Cool-Whip (refrigerated, not frozen) (I used French Vanilla Cool-Whip)
Green food-coloring
Instructions:
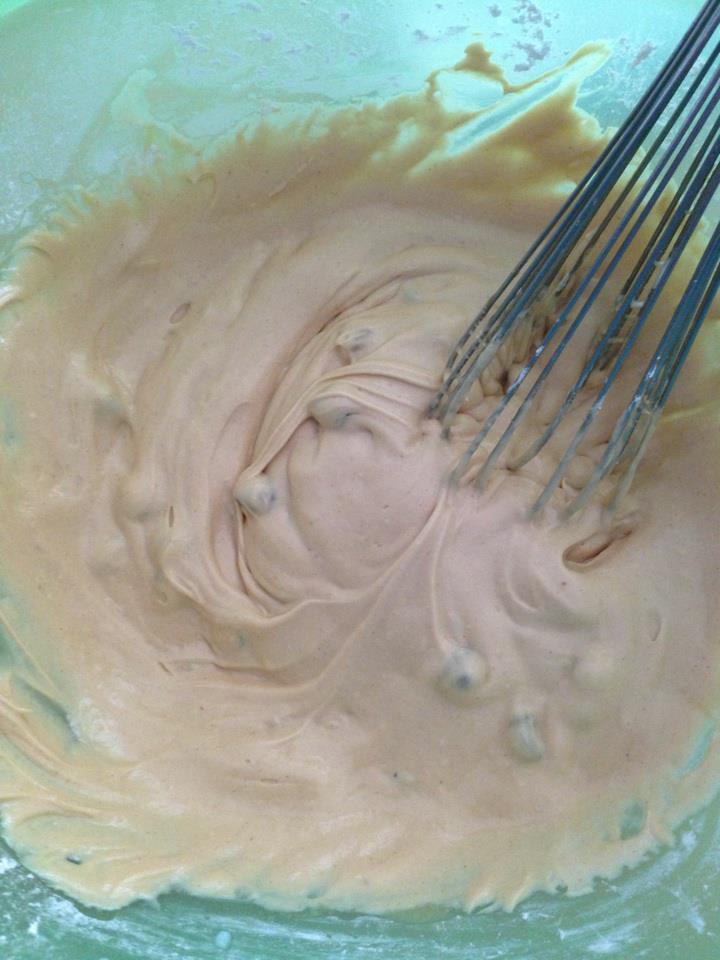
Step 1: In a large sauce pan, add milk and then marshmallows. On low-medium heat melt marshmallows while stirring. When marshmallows are completely melted, transfer melted marshmallows to a large mixing bowl.

In a large sauce pan, add milk, and melt your marshmallows on low-medium heat on the stove
Step 2: Next, add-in the whipping cream. Stir until well blended.
Step 3: Next, add-in the mint extract. Stir until well blended.
Step 4: Next, add-in the cocoa powder. Stir until well blended. (Yes it will turn the mixture brown, but don’t worry we will make it green at the end!
Step 5: Take 18 of your 24 Andes mints, unwrap them and place in a small/medium sized mixing bowl. In the mixing bowl, ground up the Andes Mints into fairly small pieces. Once they are in very small pieces you can add them to your pie filling and mix-well.
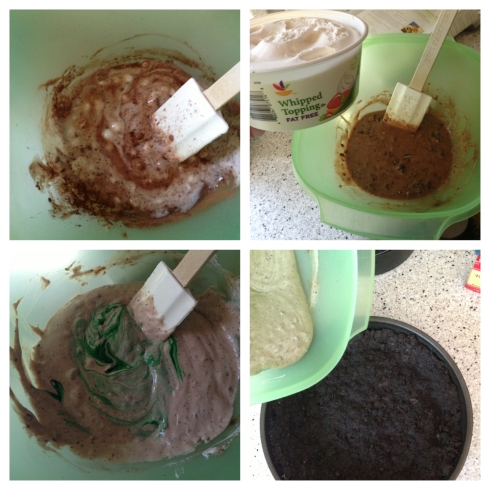
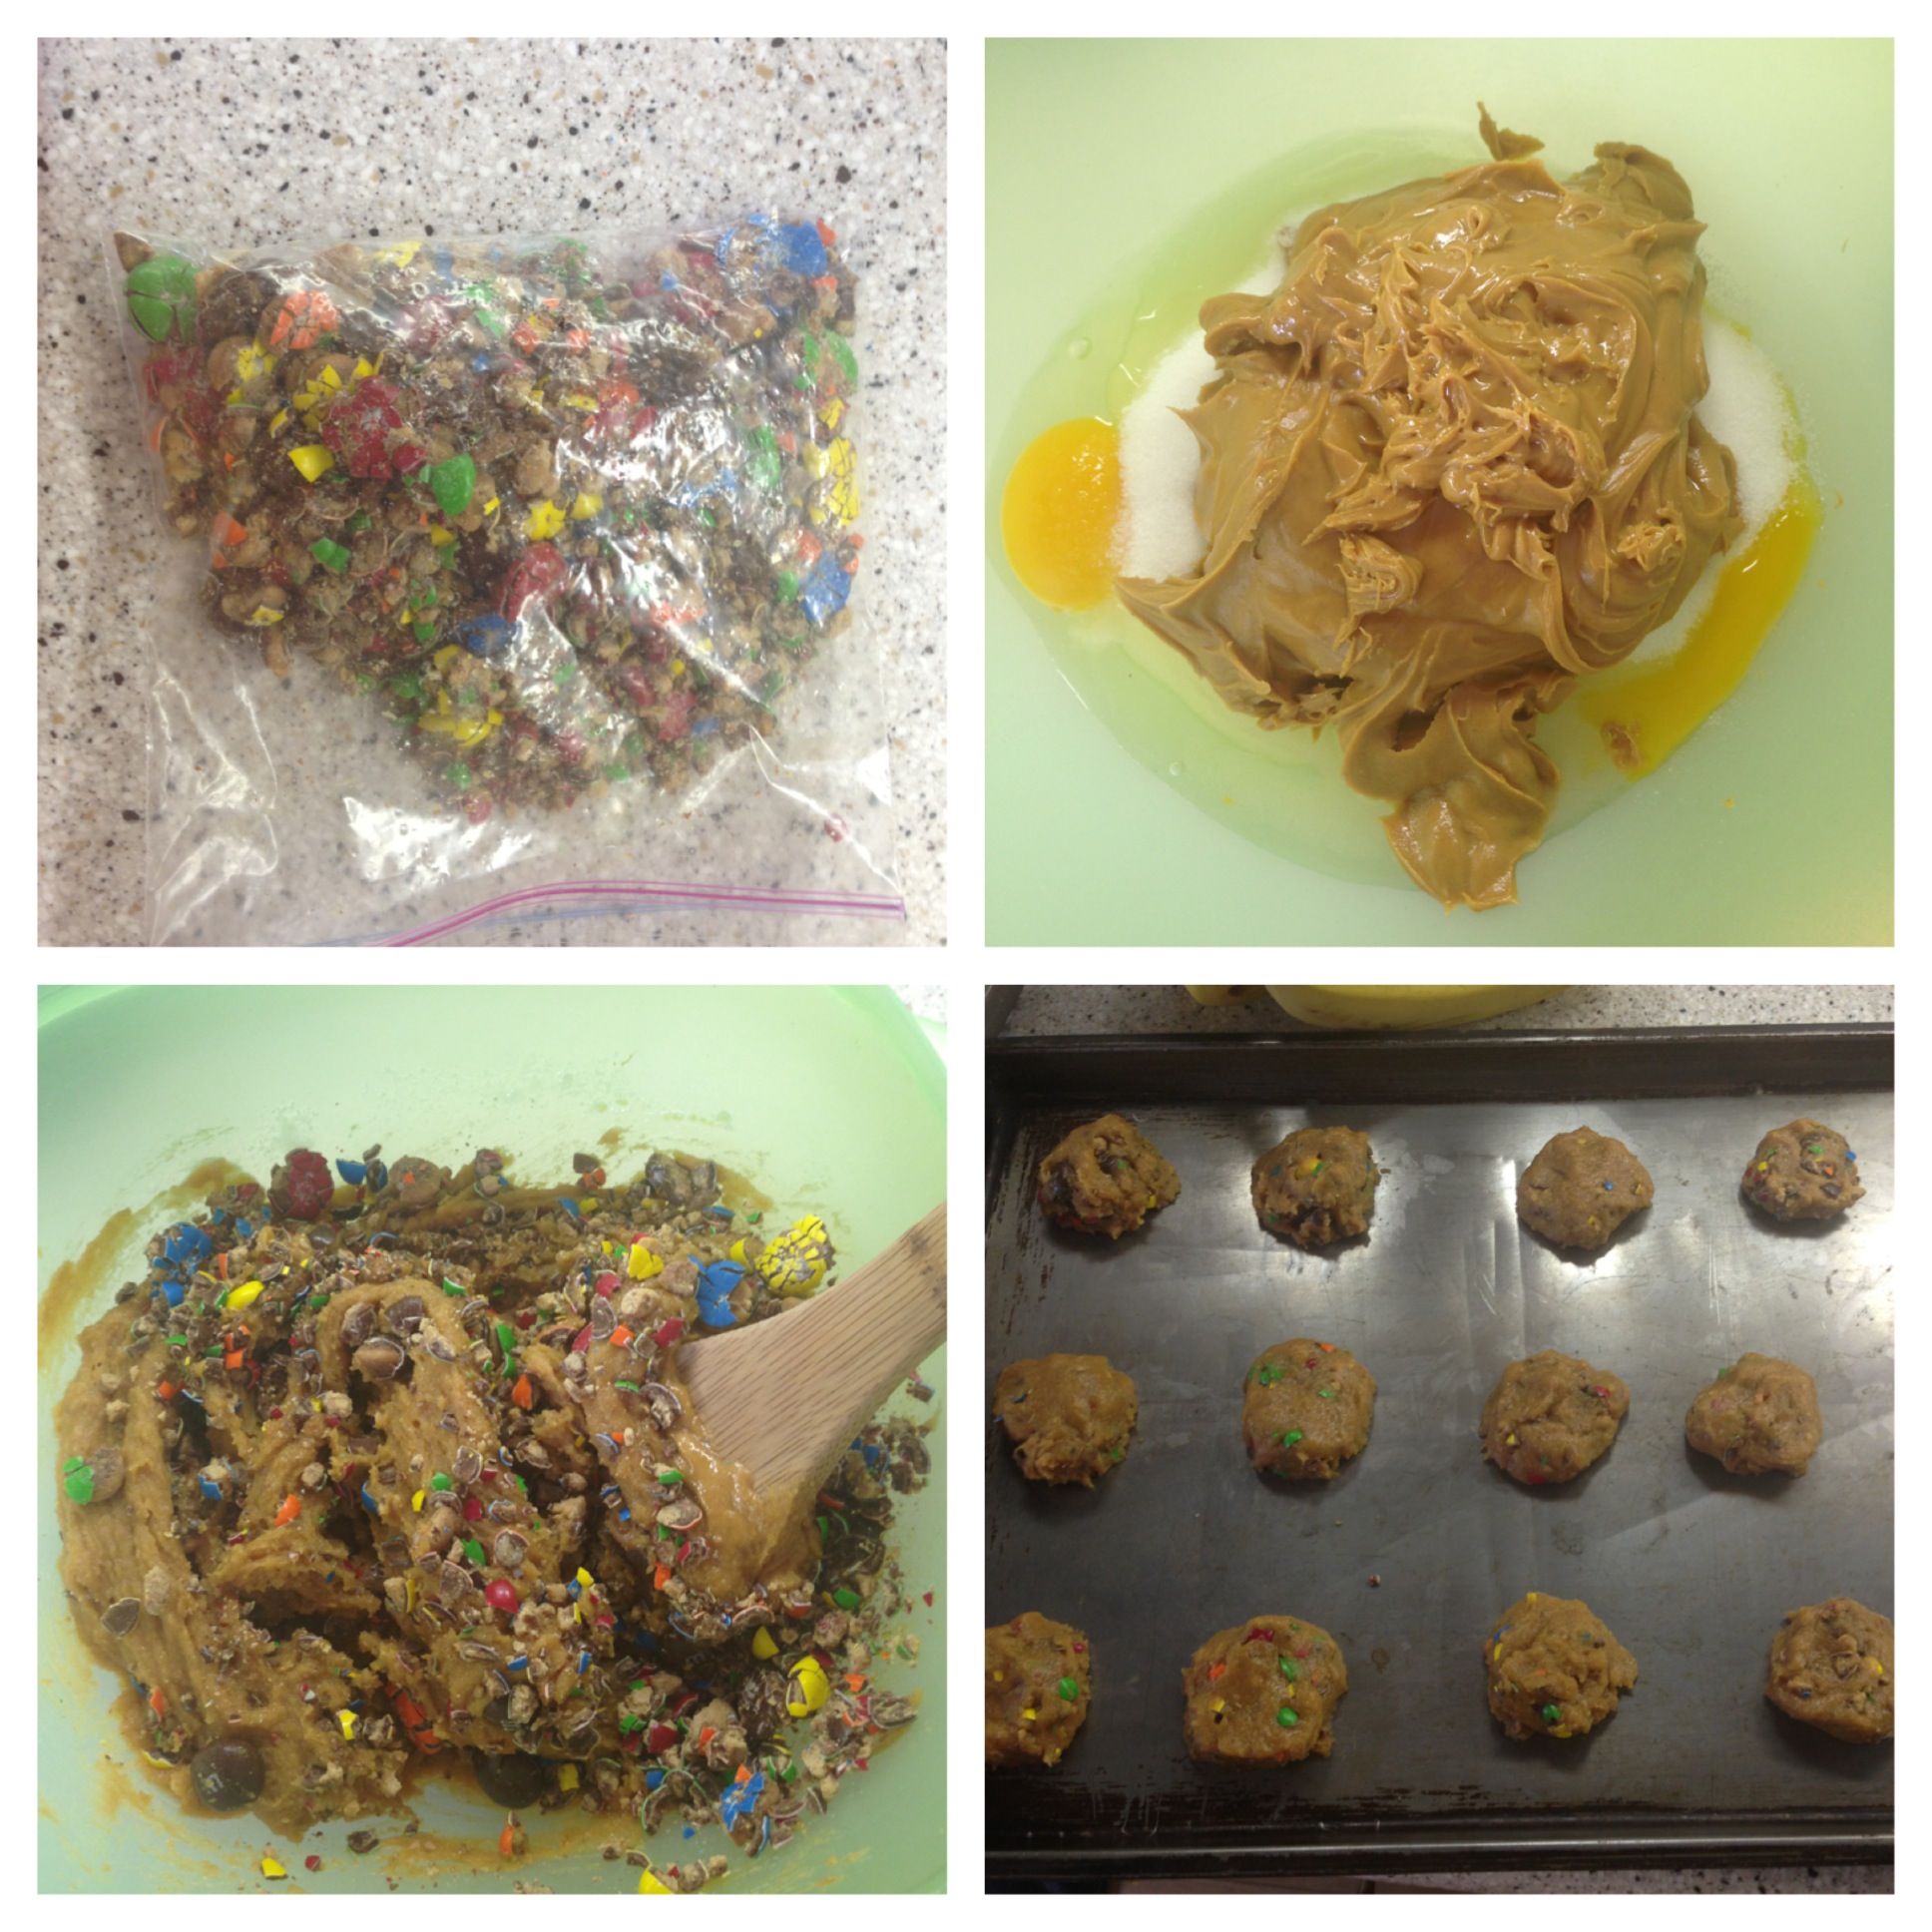
Top Left: Add-in the crushed up Andes mints to the mixture. Top Right: Add-in your whipped topping. Stir. Bottom Left: Add-in green food coloring. Stir. Bottom Right: Add filling to your pie crust and freeze for at least 4 hours.
Step 6: Once your Andes mints are mixed-in well, you can add in a half-container of Cool-Whip, which will make it more full and fluffy. I used French Vanilla, but you can use plain or even use chocolate if you like it to be even more chocolatey!
Step 7: Add about 5-6 drops of green food coloring, 1-2 at a time while stirring until it reaches your desired green.
Step 8: Take the remaining 6 Andes Mints, unwrap them, and crush-up into very small pieces in your smaller bowl. (Set-aside for now, this will be your topping at the very end.)
Step 9: Once your pie crust has chilled for 45 minutes-1 hour, you can remove from the freezer and add your pie filling. Spread nice and evenly using a spatula.
Step 10: Top with your remaining crushed up Andes mints, so your pie will not only taste great, it will look great!
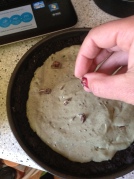
Top your pie with the remaining crushed up Andes mints
Step 11: Cover your pie and freeze for a minimum of 4 hours, overnight is preferable though.
This is one of my favorite pies I’ve made so far and I hope you enjoy it as much as I do!
http://www.glutenfreegesualdi.wordpress.com

GF No-bake Andes Grasshopper pie with GF chocolate crust
Tags: andes, andes mints, chocolate, chocolate crust, chocolate Os, easy, gf, Gluten-free, grasshopper, grasshopper pie, mint, no-bake, pie


Recent Comments